Pages

Showing posts with label Basic Grey. Show all posts

Aug 20, 2014

Back from Summer -- and a Scrapbook Share!

We have had a busy summer, as I am sure you have too!  We started our homeschooling on August 5th, so we are slowly getting back into the regular routine.

For most of July I scrapped my heart out, working on my oldest son's birthday album with the RSVP collection from Basic Grey.   Some old pages that were done in the past on 8-1/2" x 11" were completely redone (since I had photo duplicates) so that the entire book looks cohesive.  The RSVP kit was purchased from The Memory Nest, and comes with a great collection of papers for a boy or girl, a sticker sheet and three different sets of letter stickers.

Here is the latest video where I do a quick share on what I have accomplished so far for the album.  For the teenage years, I will be transitioning to the new Celebrations collection from Carta Bella:


What have you done this summer for scrapping??

Jul 1, 2014

Flashback Friday: Killing Kits from The Memory Nest!

In the past few months as a Design Team Member for The Memory Nest, I have received some awesome product kits for creating!

To close out the month of June and my time as a Design Team Member, I decided to go through all the past kits, gather all those yummy leftover pieces and put together a new double page layout.

The challenge for myself was to only use what was left of these kits without adding anything else from my stash.  Do you think I was able to accomplish the challenge??

Here are the kits that I worked with:

Recollections by Echo Park
PB&J from Basic Grey
Dapper Dan from Glitz
Feels Like Home from Little Yellow Bicycle
RSVP from Basic Grey
Weaving Color Kit (The Memory Nest)

And here are some photos of those yummy leftovers:


While this seems like a lot of goodies, it was still going a little intimidating to mold all these goodies into a cohesive, pleasing layout.

Here is the finish product:


Mission Accomplished! Thanks for stopping by!


Apr 24, 2014

Throwback Thursdays: Basic Grey


Just like most girls, I like to get the latest and greatest, especially when it comes to scrapbooking supplies. Are you like that too?  While that is loads of fun, there is still something to be said about the many treasures that are hiding away in our stash.

This new series, "Throwback Thursdays: Using up the Crafter's Stash" is geared to give you inspiration to use up some of the older paper and goodies in your stash!  You may have some of the same supplies that I do -- and we can craft it together!

Your challenge this week is to dig out all your older Basic Grey supplies.  In the video below, you will see what items I combined for a great new layout.

After the video, look farther down this post to see the additional Basic Grey supplies I found in my stash, plus two more completed layouts and a simple greeting card appropriate for masculine birthdays!

Visit my new Facebook Page -- join this challenge and share what you created with your Basic Grey supplies!


I found more Basic Grey supplies, including some Fact & Fiction chipboard pieces (not shown here)


This layout used a combination of PB&J, Cupcake and Fact & Fiction.


This layout is mostly PB&J with Fact & Fiction chipboard.  The "Delight" saying is a G-Studios chipboard piece I got at Michaels ages ago.


Here is the masculine birthday card -- I was able to make 3 of these.  I used the "Simply Sketched" stamp collection from Stampin' Up.  


What did you create?  Go to my Facebook Page 
and show us your project!

Jan 18, 2014

Card Making Process: Cute and Simple Card using RSVP!

Happy Saturday!  Today I just wanted to share another birthday themed projects that I completed with the Basic Grey "RSVP" collection:


Jan 16, 2014

Scrapbook Process: RSVP by Basic Grey!

If you find yourself behind in your Birthday layouts or cards, Basic Grey has once again made a versatile kit that is perfect for both. It's the RSVP paper line, and this week I am highlighting this lovely kit, courtesy of  Leslie at The Memory Nest Store and the Blog.

 
Papers included, Side A

Love these B sides!

Here is how I started my layout:  The left of this next photo shows previous 8-1/2 x 11" pages that I wanted to redo in 12 x 12 size, along with the reprints of the focal photos that I want to use this time around.  

I chose this combination of paper for the page:


Oh, and check out January's Pagemaps at pagemaps.com; their sketches this month are SO fitting for this paper kit!  This is the one that I selected:


Here is the start of the layout process incorporating three photos instead of just the one as shown on the original sketch:    


Normally I don't utilize stamps for layouts, however, I had a Hero Arts stamp set with a cupcake motif that was perfect for this particular page! It was time to practice with my Bic Mark-Its (plus a Copic blender pen). I am not a alcohol marker pro whatsoever, so in this case I stamped the image three times so that I could practice color combinations and choose the one that worked best. 


The complete layout:  This page also includes items from the RSVP Mixed Brads, available separately from the paper kit (but a must-have!):


Here are some closeups of the embellishment areas. Aren't the pinwheels cute? Oh, and notice what I did with the title - I was out of "E's" so I substituted with "3's" turned backward.  It fits the whimsical feel of the layout, don't you think?


This is a closeup of the finished cupcake, colored in with Bic Mark-It markers.  The Copic blender pen was used to soften the lines of the two-toned chocolate frosting. As a special touch, the frosting was highlighted with a Sakura Stardust Gelly Roll Pen.


Have you had a chance to use this paper kit yet?  If so, leave your blog page link in the comments below so that we can see your creations!

Come back tomorrow for a special announcement and on Saturday to see a super simple birthday card that was created from the RSVP kit!  

Oct 3, 2013

Throwback Thursday: Fact or Fiction by Basic Grey

More cards for this week's Throwback Thursday!

Basic Grey always seems to be my "go to" when I want inspiration for cards.  I loved the versatility of the Fact or Fiction collections!  Here are a couple cards that have color schemes appropriate for autumn occasions:


Again, I love the versatility of this paper! This first card is elegant, even though the entire paper selection of this collection may seem to have a more "fun-loving style."  


Finally, this second card is a little mixture of both, a more classic style but with some fun, modern embellishments with the "Smile" stamp and others from this Basic Grey collection.

What "throwback" collection are you using this week?  

Sep 26, 2013

Throwback Thursday: What's Up Collection by Basic Grey

Have you ever taken the time to go through your stash and get inspired by something that you forgot that you had?  That happens to me a lot, which is why I always tend to "play" in my supplies when I am in a creative slump. The latest result was finding a paper pad from Basic Grey, perfect for cards!


These two cards use a kraft cardstock for the base, printed patterns for the card fronts, punches and a couple gems and ribbon for the other embellishments.  The insides of the cards are also decorated with some patterned paper.  


I love how these two cards turned out!  I have so many of these vellum sayings in my stash, and I can never find a good way to use them.  Two of the sentiments were perfect for this themed paper, so I decided to go with  3-1/2" x 6-1/4" cards, layering the vellum for a special effect.  With this patterned paper, there really isn't any need for additional embellishment!  


Again, I used matching paper from the paper pad to decorate the inside of the cards to give them that extra-finished look.  These cards will fit in the #6-3/4 (3-5/8" x 6-1/2") business envelopes, which you can find in most any office supply store.  My local OfficeMax is where I purchased a box of 100, which will last me quite a long time.  Maybe I should make this size more often!

What card size do you use the most when making cards?  What size would you like to try? 

Jul 20, 2013

Guest Post Today at "Use It Scrapbooking!"

How fun to be able to guest post over at my new scrappy friend's blog, Use It Scrapbooking!  Today I am sharing my tips and tricks in a short tutorial for coordinating patterned papers from your stash for your scrapbook layouts.

First, I start with this Instagram photo of my son:


Then I show step by step how I used five different patterned papers to create a 12" x 12" layout.  Here is a sneak peek at the finished layout:


Head over to "Use It Scrapbooking" today to see how this layout developed from start to finish!

How many sheets of patterned paper have you used for one layout? Let me know in the comments below!


Jul 1, 2013

Scrapbooking Process: PB&J from Basic Grey!

The PB&J collection from Basic Grey has been a favorite go to for me this past couple months.  I love the colors, and it is so adaptable for many of the pages that I have wanted to do!

This is the layout that I submitted for the design team over at The Memory Nest last month:


With the versatile "B" sides to the collection, it's easy to mix together for a great look, even for a boy page.  The accompanying Basic Grey chipboard sticker letters in navy work great for titles!  For this layout, I added a chipboard butterfly, button and tag from my stash.  I used a new date stamp from Dear Lizzy (from Target!) to add the phrases and the date along the bottom of the page.  

Want to try this collection?  You can still purchase one at The Memory Nest right HERE.

I hope you will join me with the other talented ladies for the design teams at The Memory Nest in July and August for great challenges!  It will be inspirational to you for getting summer layouts completed!

Jun 11, 2013

Scrapbook Process: Smiling with Patterned Paper

Yesterday I talked about my latest project of reorganizing my patterned paper by color.  It has produced good results:  I have found paper that I had forgotten about and now able to use.

This is a layout I finished after my paper reorganization that is for The Memory Nest's sketch challenge that starts linking up today:


The layout started with solid colored cardstock, layered with My Mind's Eye "Lost and Found 3" paper, and  stickers which I believe are from the Indie collection. The photo mat is from Basic Grey's "PB&J" line that I purchased from The Memory Nest store.    

What is a collection you have in your stash that you need to bring out and use?

May 28, 2013

Scrapbooking Process: Using up Stash!

This past week, I have been going through all our digital photos, making sure they were organized properly and saved all in one place.  The process included going through various CDs, my hubby's computer files, my computer and our external hard drive.  It was quite the job, but I have now compiled what I figure to be all the important family photos in one spot on our external hard drive, by year and by month, with all duplicates and renegade photos accounted for.  The phone photos were the hardest -- before owning an iPhone, the dates were not recorded on the photo files, so I had to match those photos to others where clothing and haircuts were similar!

Now that this job is finished, I feel as though important photos will no longer be missed that need to be scrapped.  Not that I will scrap all of them -- but I knew there were some random shots that told fun and interesting stories that needed to be in our albums.

Here is one of those stories:  My husband took our oldest son, when he was 5, for a very short, shaved, barber shop haircut that nearly gave me a heart attack at the time.  Looking back now, he was stinkin' cute!  

Here is my thinking process for this layout.  First, I decided to really dig in my stash and use only "old" stuff.  There is way too much paper in my paper box, so I need to get into it and start using it up.  I pulled some Paper Loft papers from different collections that meshed nicely together, plus a little bit of this and that from all over my scrap area:


Next, I chose a sketch.  Most of the time, I will start with Pagemaps.  This sketch from October 2012 looked promising and I thought it could develop into a two photo layout:


As you'll see from the finished layout, things didn't go quite as planned! First, I ditched the second photo. Since one photo was portrait and the other landscape, I couldn't find a way to bring good continuity to the layout using both.  Second, I turned the layout so that the long border grounded my focal photo better.  A switch of Paper Loft paper from greens to blues were brought in as well as a chipboard set from Basic Grey that I bought awhile ago at Big Lots and never used.  Since frames are making a big comeback, the rust colored frame from that set worked extremely well with my chosen papers.  

Finally, I brought in just a couple new items (I couldn't resist) to rev up the final layout:  a wood veneer and title letters from the Basic Grey "PB & J" collection.  Journaling will be added on a tag and tucked behind the photo later.  


Notice the Urban "tag" that I used on my layout? Rummage your home for things like this for your own ephemera.

Hope this gives you some inspiration as you scrap this week! What's your page layout process??

May 5, 2013

Scrapbook Process: NSD Layout #3 - Mirroring Pages


It got too late in the day to take photos and post my last layout for National Scrapbooking Day, but I still wanted to post it since I was pleased at how it turned out. Two of my three goals were finished: completing three layouts and using stash that was over a year old.  I totally forgot about the stamping goal, so that didn't make any of my layouts this time. The nice thing was that made a point of utilizing a lot of older stash, including several Cricut diecuts from swaps that you will see on this double layout:


The patterned papers are from Basic Grey, the blue cardstock is Bazzill, the balloons, party hat and cake are from a Cricut swap.  The acrylic "wishes" and "party" titles stickers are from Joann's (I believe their own brand).  Because this layout is for my son's scrapbook, I wanted it to be fun, simplistic, brightand with more photos.

This layout was also completed for the first challenge on the Basic Grey blog for National Scrapbooking Day.  Their challenge was to: Create a project using a craft knife or scissors to cut around the designs on patterned paper.  However, once I got started designing the layout, I completely forgot about the cutting!  I finished instead by trimming around three of the balloons so that I could slide a photo into the slit.


I hope you were able to get a lot accomplished yesterday -- but most importantly -- you had a wonderful time with your craft!

Apr 10, 2013

Scrapbook Process: Dots and Stripes with Basic Grey

Today's layout is the result of inspiration from two sources.  First, I found a great layout on Pinterest that originally came from pagemaps.com:


Secondly, I wanted to enter a project on today's Whimsical Wednesday post at The Memory Nest blog. I learned of Leslie and The Memory Nest through Twitter; she has a great blog and online store. If you are looking for some challenges, she has a color and a sketch challenge posted right now at her blog.

Yesterday, her blog post showcased layouts by her Design Team using the Basic Grey collection, "Paper Cottage." The layouts were great, and it inspired me to use these sheets of Basic Grey "Bow Ties" that I randomly purchased on my last visit to Archivers:


At the time, I didn't know if I would use this paper for a layout or card.  However, I love Basic Grey, so I got them, and now I'm glad I did, since I was able to do this layout with a couple miscellaneous photos from 2004:  

"Did we catch you in the act?"

I used all three patterned papers, with the reverse of the small dotted paper, which was this blue background.  I used orange Basic Grey letters from the Fact and Fiction collection and punched the hearts out of Fiction paper.  I used Doodlebug twine to make the stitches (albeit, messy stitches) along the side.  It only took me about 30 minutes to complete this layout; I like the simplicity of it, and it's another one for the book.  

If you want to find out more about The Memory Next, her blog is HERE and you can visit her store HERE if you want to check out all the goodies. (And yes, she sells Basic Grey too!) 

Hopefully you can take this sketch and use it to do your own layout today. Let's get some of those photos scrapped!  

Feb 27, 2013

Card Making Process: Basic Grey Fact or Fiction Challenge!

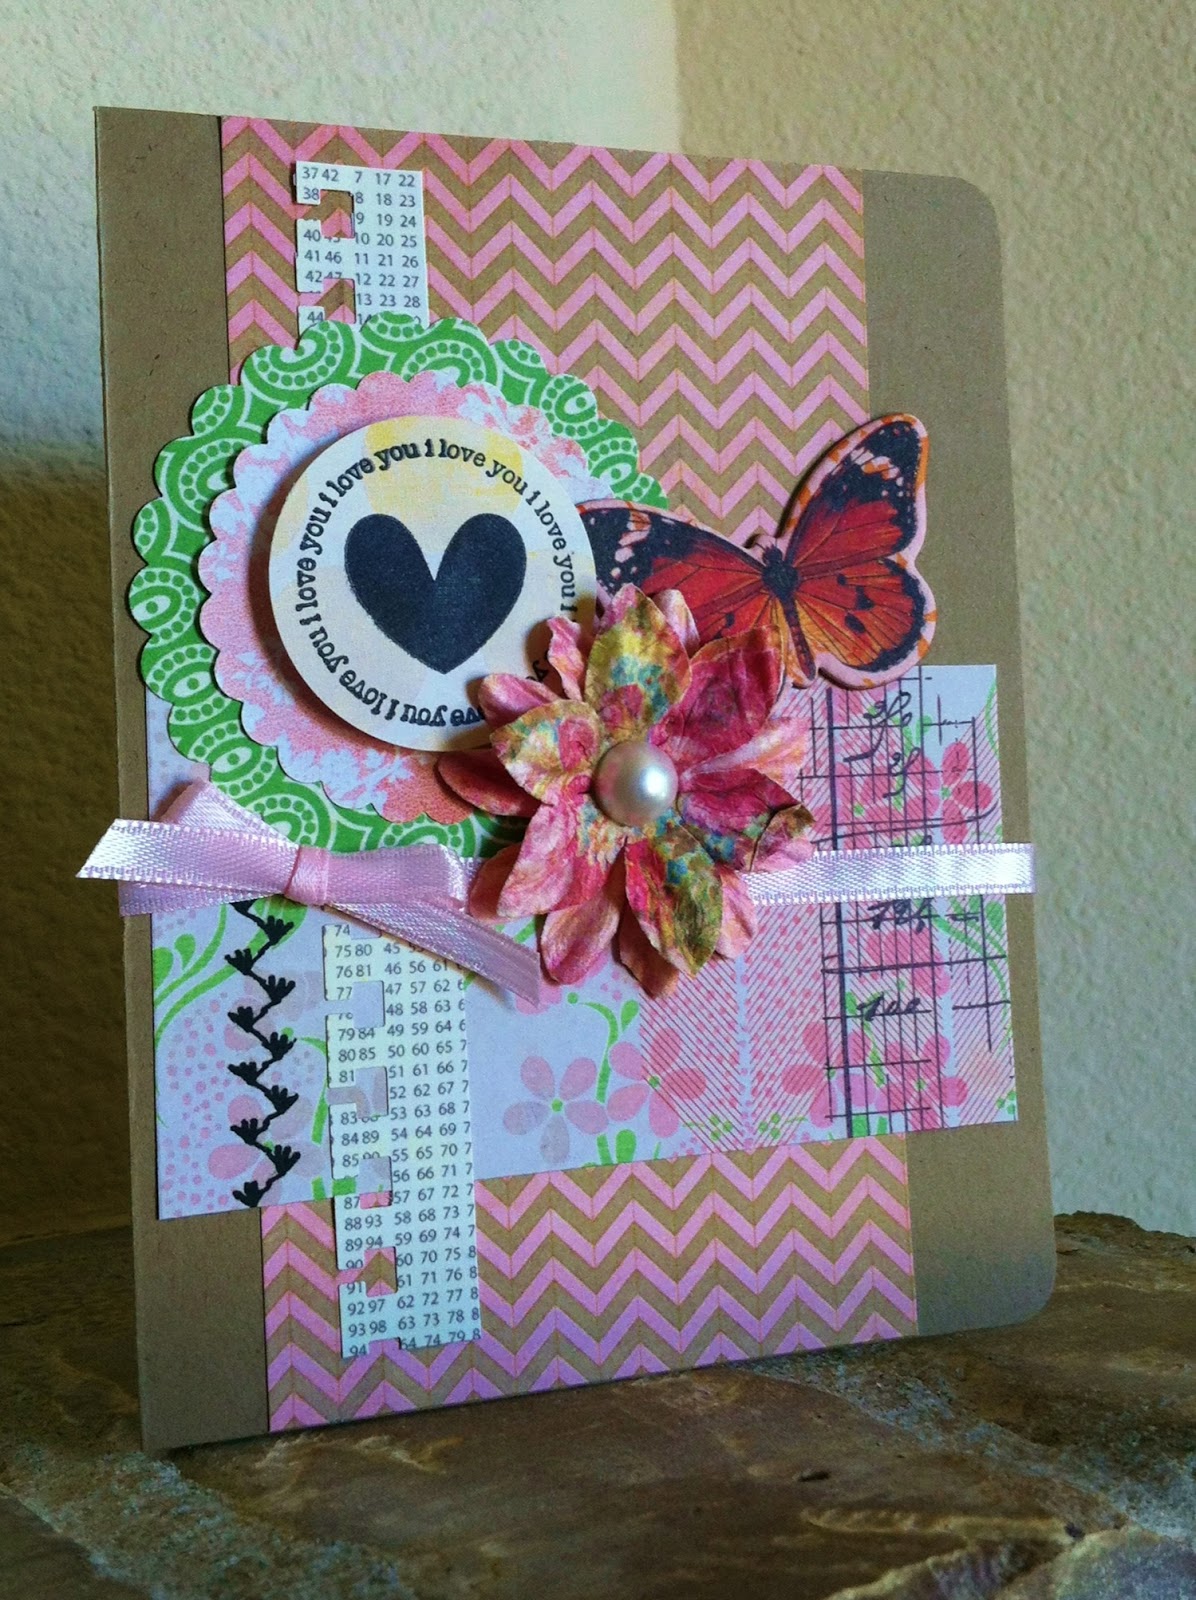
It's the end of the month, but I finished the Basic Grey February challenge with three cards to submit!  I love the new Fact or Fiction goodies from Basic Grey -- I finally used my Christmas gift card to Joann's to buy a 6"x 6" pad of each, with other embellishments to use for the cards. 


Below are the cards that I submitted.  There were no sketches to follow for this challenge, so I made up my own as I went along.  The heart stamp from card one is from Doodlebug (Hampton Arts), and I used my own flowers and ribbon. 


Regretfully, I didn't get at least any 12"x 12" paper pad for layouts -- when I did another trip to my local Joann's, they were already gone!  Look like it's a favorite with many others too!

What collection do you like of Basic Grey?