Pages

Showing posts with label color kits. Show all posts

Apr 14, 2015

My April Scrapping Kit - My Minds Eye

I previously posted that I'm on a mission to use up all my older paper collections and scraps before I purchase any more new goodies.  A "scrapping fast" as many other crafters are calling it.

This past weekend I put together another kit for April, combining three My Minds Eye collections:  Stella Rose, Indie Chic, and So Sophie.  At the time I purchased them, I must have really like the aqua and yellow combination, which is great because these three collections are easily interchangeable!  Along with the 12 x 12 papers, I had chipboard from the Stella Rose, a 6 x 6 pad and die cuts from Indie Chic, and die cuts and overlays from So Sophie.  Also thrown in were brads from the MME "The Sweetest Thing" collection, the paper of which I used up last week. 

This is how I make my own kit:

1. The 12 x 12 containers from Michaels are the perfect storage for homemade kits! You can see through them, and they hold a lot of goodies all in one place.  Be sure to get them when they are on sale or use a 40% off coupon for the best price.  In my scrap closet, I usually have two of these that I fill and empty all the time.  It is incredibly handy to grab and get something scrapping finished.

2.  Next, I go through my paper box, where currently I file all my left over papers and collections by manufacturer and choose a color scheme that attracts me.  From that, I go through the rest of the box and find all the papers that easily coordinate (usually there is a three color theme that I will use).

3.  Third, I will go through my stash of embellishments and choose what is left from the original collection, plus anything else that coordinates with it.  Thickers or other chipboard lettering also goes in the box.

4.  Because I hate throwing things away, I have this drawer set on my desk that houses miscellaneous stickers, die cuts and chipboard.  The next step will be going through these drawers and find anything that I can use up that matches my kit.  I love to put all these miscellaneous pieces in this cute catch-all and leave it on my desk for easy access.

5.  Finally, photos.  I will go through my current pics or archives and print photos with my Canon Selphy, putting the dates on the back.  This way, I have all that I need in one spot for when I want to sit down and be creative for a few minutes.

As the scrapping begins, I always check my other stash for buttons, twine and other things that are stored by color.  This makes it easy to grab a small container and go through to find extra embellies to add to a layout.

The fun thing about shopping from your stash is that you can put together some real creative kits.  I find that many of my layouts from a kit will look much more "scrappy" -- meaning that it looks more like a scrapbook page instead of something very coordinated.  You can make it simple, or get more artsy as you meld your scraps together.  Does that make sense?  I personally like the different look as I go through my scrapbook at the variety of pages that I have created.

Since this destashing has begun I include one caveat with these homemade kits.  Once I have used up all the paper that I can (including using some scraps for cards),

I will throw the rest away.

In the trash can.  Never to be retrieved.

I will also go through the embellishments, and if I have tried a couple times to use them with different kits and they go unused, they go in the trash. You have to get rid of the old to invite in the new, right?

Try making some kits with your older stash.  Let's use up that great stuff or throw away and move on.  Who's with me?

Jul 2, 2014

Monthly Wrap-Up: Scrapbook and Card Layout Share with the "Chairs" Color Kit!


This bright and summery kit from The Memory Nest was a delight to work with this month!  In order to show you everything, please watch the YouTube video below.  I wrap-up the month by showing the layouts completed and highlighted on The Memory Nest blog as a Design Team Member (most layouts have their own process videos on YouTube) in addition to some Graduation cards!

Visit The Memory Nest to get this kit for your summer layouts -- it's only $9.99 -- while supplies last! 


Jul 1, 2014

Flashback Friday: Killing Kits from The Memory Nest!

In the past few months as a Design Team Member for The Memory Nest, I have received some awesome product kits for creating!

To close out the month of June and my time as a Design Team Member, I decided to go through all the past kits, gather all those yummy leftover pieces and put together a new double page layout.

The challenge for myself was to only use what was left of these kits without adding anything else from my stash.  Do you think I was able to accomplish the challenge??

Here are the kits that I worked with:

Recollections by Echo Park
PB&J from Basic Grey
Dapper Dan from Glitz
Feels Like Home from Little Yellow Bicycle
RSVP from Basic Grey
Weaving Color Kit (The Memory Nest)

And here are some photos of those yummy leftovers:


While this seems like a lot of goodies, it was still going a little intimidating to mold all these goodies into a cohesive, pleasing layout.

Here is the finish product:


Mission Accomplished! Thanks for stopping by!


Jun 17, 2014

Scrapbook Process: More with the "Chairs" Color Kit!

Today I am sharing more layouts using the versatile "Chairs" Color Kit from The Memory Nest!


This color combination is yummy and I had a blast with it!


There were also papers that I could take from fun (above) to elegant:


The story behind this "Selfie" page will be on my "Kill the Kit" video on YouTube later this month.  

Want to try this kit?  It's on sale and you can get it HERE!


Jun 16, 2014

Scrapbook Process: Using the "Chairs" Color Kit!

This month for The Memory Nest, I am using Leslie's "Chairs" color kit, and it was such a fun kit to use!  It's palette of color allowed me to do different layout themes -- from the light and cheery to the more elegant.  

You can see my kit reveal and process of the first layout  here: 


My first layout from this kit:


For the background, I used paper from Basic Grey's "PB&J" collection, plus a Snap journaling card and little embellishments and washi from my stash.  


A second layout was using "The Good Life" papers from Little Yellow Bicycle that are in the kit:


The bird and little flowers were chipboard in the kit, and I added to the title with Snap letters.  


This paper is darling, and I'm so glad I had the opportunity to play with it. 

Want to get this kit to play along too?  It's on sale, and you can get it HERE.

Apr 22, 2014

Scraplifting from CardMaker Magazine!

I love my CardMaker magazine, even though it publishes only four times a year.  Not many scrapbooking or card magazines are in actual print anymore, so it is a joy to have one I can hold in my hands!

Whenever an issue arrives in the mail, I devour it from front to back, but afterward I challenge myself to make at least six to ten cards using the ideas from the magazine.

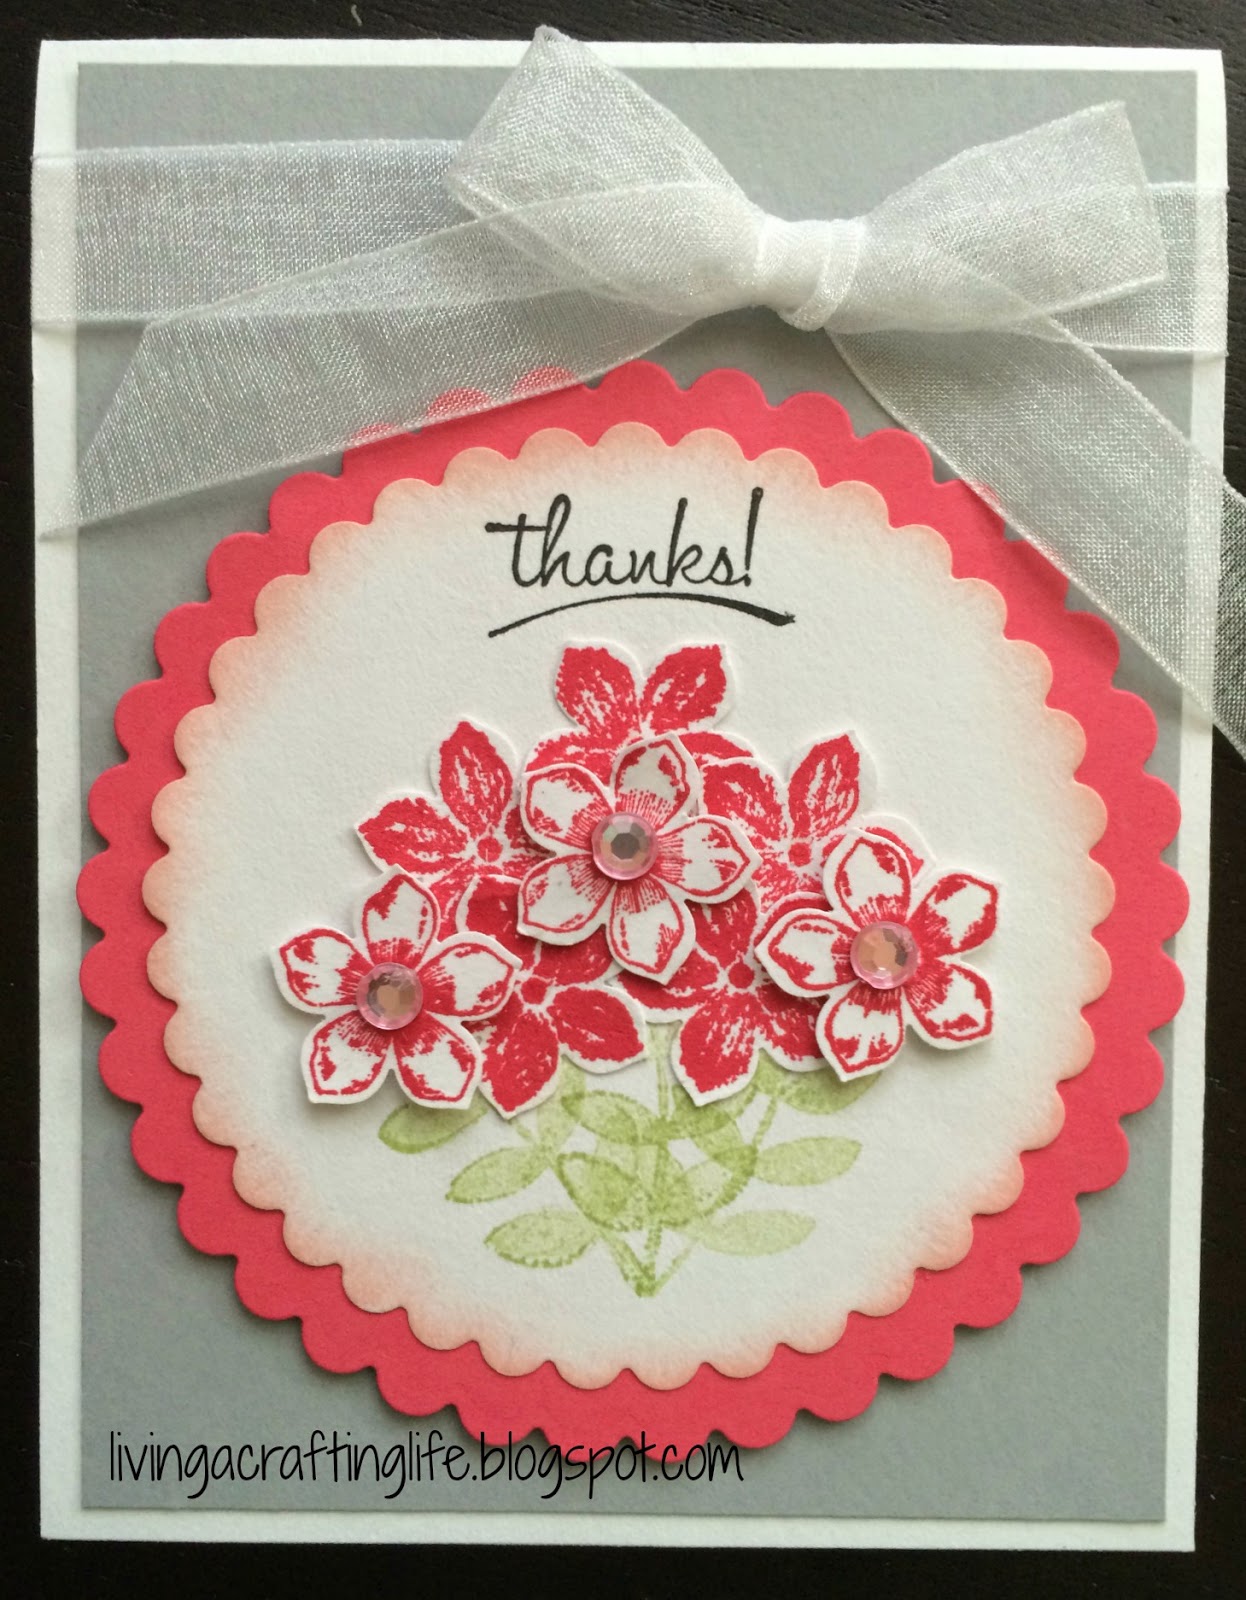
Following are some of my "scraplifts" from the Spring 2014 magazine.  To see more, watch the video below the supply list! Hopefully you will be inspired to make some cards too!


Supplies used:  

Stampin' Up Calypso Coral Ink and Paper
Stampin' Up Crisp Cantaloupe Ink and Paper
Stampin' Up Strawberry Slush Ink and Paper
Stampin' Up Blushing Bride Ink
Stampin' Up Daffodil Ink
Stampin' Up Crushed Curry Ink
Stampin' Up Smoky Slate Paper
Stampin' Up Rhinestones
Stampin' Up White Bakers Twine
Bazzill Cardstock - Lemonade 

For similar Printed Paper, try the new April "Rosettes" color kit from The Memory Nest!

Rosettes - Click Image to Close