Pages

Showing posts with label My Minds Eye. Show all posts

Apr 14, 2015

My April Scrapping Kit - My Minds Eye

I previously posted that I'm on a mission to use up all my older paper collections and scraps before I purchase any more new goodies.  A "scrapping fast" as many other crafters are calling it.

This past weekend I put together another kit for April, combining three My Minds Eye collections:  Stella Rose, Indie Chic, and So Sophie.  At the time I purchased them, I must have really like the aqua and yellow combination, which is great because these three collections are easily interchangeable!  Along with the 12 x 12 papers, I had chipboard from the Stella Rose, a 6 x 6 pad and die cuts from Indie Chic, and die cuts and overlays from So Sophie.  Also thrown in were brads from the MME "The Sweetest Thing" collection, the paper of which I used up last week. 

This is how I make my own kit:

1. The 12 x 12 containers from Michaels are the perfect storage for homemade kits! You can see through them, and they hold a lot of goodies all in one place.  Be sure to get them when they are on sale or use a 40% off coupon for the best price.  In my scrap closet, I usually have two of these that I fill and empty all the time.  It is incredibly handy to grab and get something scrapping finished.

2.  Next, I go through my paper box, where currently I file all my left over papers and collections by manufacturer and choose a color scheme that attracts me.  From that, I go through the rest of the box and find all the papers that easily coordinate (usually there is a three color theme that I will use).

3.  Third, I will go through my stash of embellishments and choose what is left from the original collection, plus anything else that coordinates with it.  Thickers or other chipboard lettering also goes in the box.

4.  Because I hate throwing things away, I have this drawer set on my desk that houses miscellaneous stickers, die cuts and chipboard.  The next step will be going through these drawers and find anything that I can use up that matches my kit.  I love to put all these miscellaneous pieces in this cute catch-all and leave it on my desk for easy access.

5.  Finally, photos.  I will go through my current pics or archives and print photos with my Canon Selphy, putting the dates on the back.  This way, I have all that I need in one spot for when I want to sit down and be creative for a few minutes.

As the scrapping begins, I always check my other stash for buttons, twine and other things that are stored by color.  This makes it easy to grab a small container and go through to find extra embellies to add to a layout.

The fun thing about shopping from your stash is that you can put together some real creative kits.  I find that many of my layouts from a kit will look much more "scrappy" -- meaning that it looks more like a scrapbook page instead of something very coordinated.  You can make it simple, or get more artsy as you meld your scraps together.  Does that make sense?  I personally like the different look as I go through my scrapbook at the variety of pages that I have created.

Since this destashing has begun I include one caveat with these homemade kits.  Once I have used up all the paper that I can (including using some scraps for cards),

I will throw the rest away.

In the trash can.  Never to be retrieved.

I will also go through the embellishments, and if I have tried a couple times to use them with different kits and they go unused, they go in the trash. You have to get rid of the old to invite in the new, right?

Try making some kits with your older stash.  Let's use up that great stuff or throw away and move on.  Who's with me?

Apr 8, 2015

Scrapbook Process: The Sweetest Thing from My Minds Eye

This week I am on a roll, finishing pages for my "heritage" album.  This album is not just old photos of my family, but also contains newer family portraits, so they are all together.

For the Make it Monday challenge this week at The Memory Nest, I used their sketch to finish another page for this album:


Here is my interpretation of the sketch:  (sorry for the lighting glare!)


From my stash, I used the collection "The Sweetest Thing" from My Minds Eye.  The title, journaling block and the parentheses chipboard pieces were the only things not from the collection, along with the cream paper for the background.  This layout is of my niece and her husband's wedding from just seven years ago, but it is a must addition for the family album.  I thought the soft blue, flowered paper was a perfect choice for wedding photos.  

You still have time to complete your own layout using this sketch from The Memory Nest!

Dec 3, 2013

Scrapbook Process: Don't Stop Believin' with My Minds Eye

Hi Everyone!  A quick post today to tell you that you must check out the December Reveal over at The Memory Nest blog today!  The Design Team is showing off new paper lines, and my designated collection is the new "Vintage Christmas" by My Mind's Eye!


This paper kit is so lovely; I immediately "killed the kit" and made a total of four layouts and three cards!

Along with this kit (which includes a fantastic sticker sheet) I added the Basic Grey Basics candy buttons in gold and silver glitter (which I will show on a future layout) from The Memory Nest store.  From my stash I used some poinsettia flowers, twine, buttons, brads and Thickers.  On the papers used for this layout, I distressed the paper edges with Vintage Photo Distress Ink by Ranger.  

Stop by The Memory Nest store and pick up the Vintage Christmas kit -- it's on SALE RIGHT NOW!

Come back on December 10th:  I will be back on The Memory Nest blog with another layout from this collection that will hopefully inspire you toward getting Christmas photos scrapped right away!


Jun 11, 2013

Scrapbook Process: Smiling with Patterned Paper

Yesterday I talked about my latest project of reorganizing my patterned paper by color.  It has produced good results:  I have found paper that I had forgotten about and now able to use.

This is a layout I finished after my paper reorganization that is for The Memory Nest's sketch challenge that starts linking up today:


The layout started with solid colored cardstock, layered with My Mind's Eye "Lost and Found 3" paper, and  stickers which I believe are from the Indie collection. The photo mat is from Basic Grey's "PB&J" line that I purchased from The Memory Nest store.    

What is a collection you have in your stash that you need to bring out and use?

May 27, 2013

Scrapbook Process: Remembering Memorial Day

It's with heartfelt thanks and appreciation that this post is dedicated to all those who have died fighting for our country's freedom, and for those who are continuing the fight on our own soil and abroad.

Today's layout is a patriotic one that I finished last week.  The photo was from an Independence Day celebration in our neighborhood, but nonetheless, an All-American layout it is.


The paper is a sheet from the My Minds Eye "American Made" collection from a couple years ago.  I added diecuts from the line, as well as various bits and pieces that I had, including some flair and a Creative Memories diecut (the firework).  Washi tape and some bling were added to make it even more festive.

The important addition to the layout was this sticker:


We may be American Made, but it is the freedom that is fought for that makes this country truly great.  

Thank you, Men and Women of our Armed Forces - you are loved and appreciated for your sacrifices.

Apr 3, 2013

Scrapbook Process: Boy Pages with a Lime "Twist"

Over this past weekend, I was going through my paper stash and got inspired again by papers I had left from My Mind's Eye "Lime Twist".  This collection is a great to use if you have boys -- it's very versatile.

With this new inspiration, here are three layouts I created.  I didn't follow any sketches -- I just went where the photos seemed to take me.  

This is the left page of a two page spread.
The title uses American Crafts Thickers. (Love them!)

This is the right page -- with a mixture of papers and matching diecuts.

This is another page that I layered two of the papers together and added the coordinating diecuts.  

Don't forget that you can cut a frame from one of the layers so that you aren't using an entire sheet. I have one sheet left of Lime Twist left along with a couple diecuts -- but I need just the right photo!  

Hope these layouts give you some inspiration to get out some of your paper stash and use it!  

Have you used some of the Lime Twist?  Share a link in the comments to your blog so that we can see!  

Mar 19, 2013

Card Making Process: "Lost and Found" Card Ideas

Sometimes when I sit down to make cards, I will pull out a sketch that I marked from a blog or one that I may have saved from a book or magazine.  Other times, I will pull out a paper collection and see what happens as I begin to lay out the papers, scraps, stamps and other embellishments.

Yesterday I shared the three layouts I completed over Spring Break using different "Lost and Found" collections from My Minds Eye.  Today I wanted to share the cards with you.

For each of these cards, I got my ideas directly from the "Lost and Found" embellishments and the designs on the papers that could be used. The first two cards are for a new baby girl, using a mixture of pink pattern papers from different "Lost and Found" collections:

  This card also incorporates the MME coordinating ribbon and brads.


Next is a birthday card:

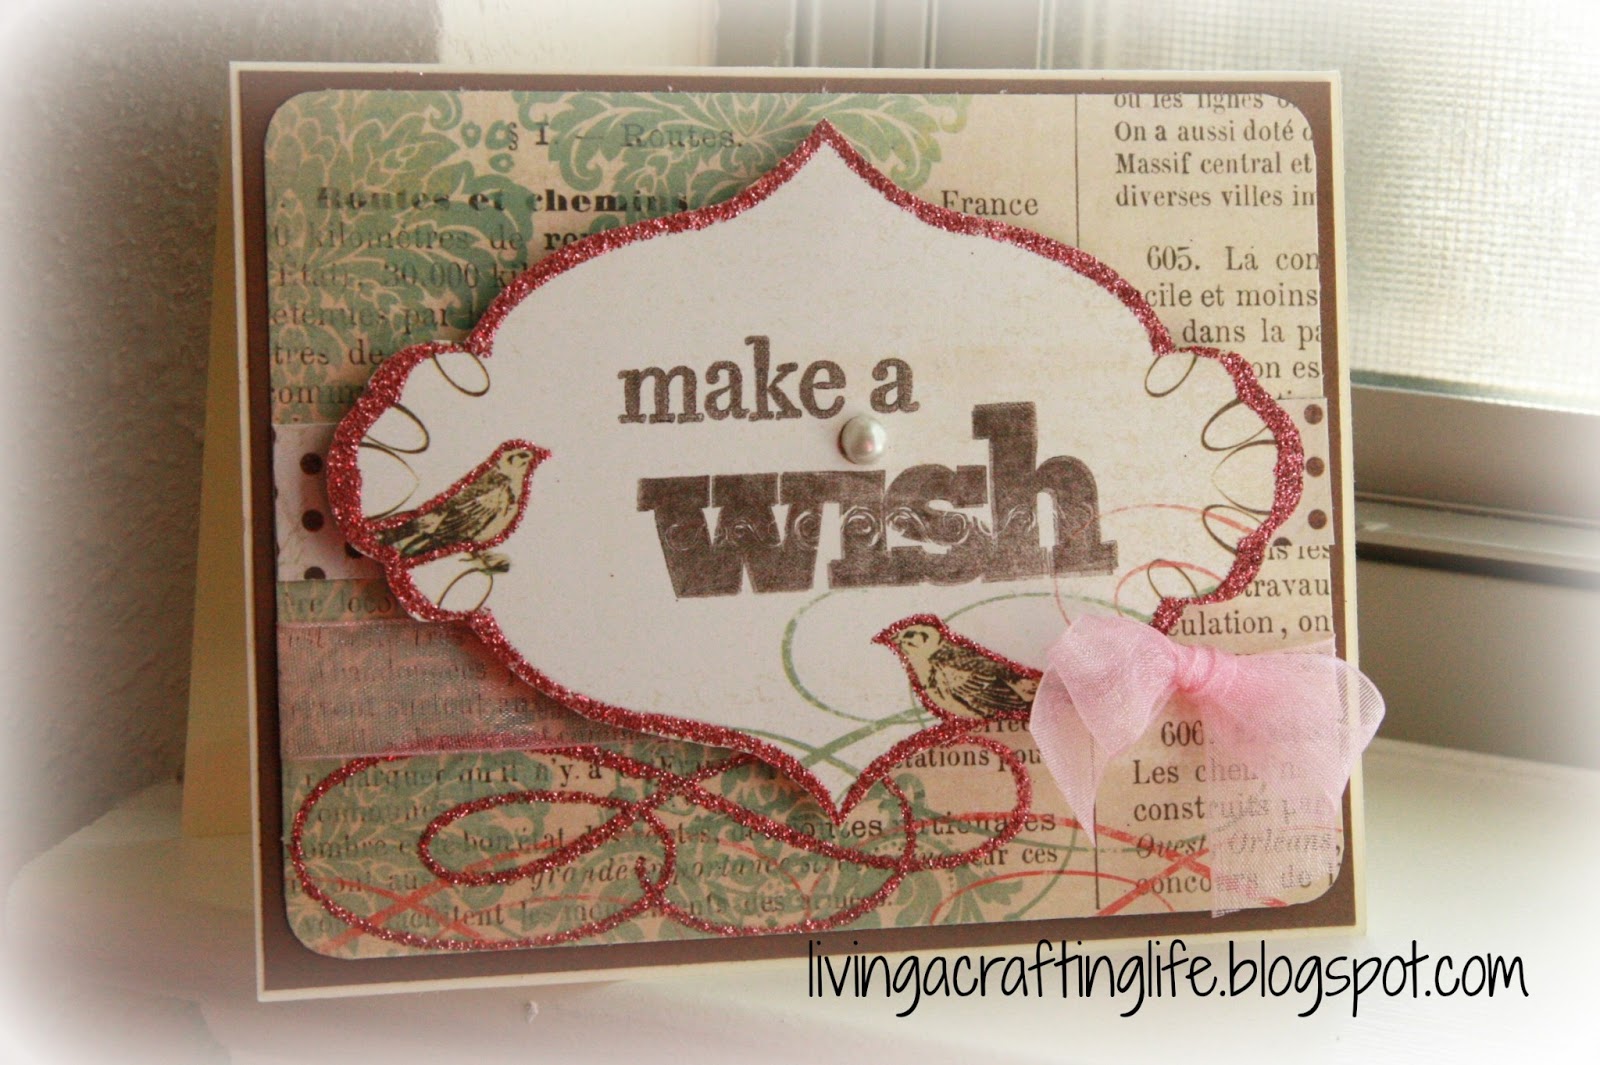
This is a little feminine too, but I liked the label with the birds that I fussy cut from a 12 x 12 sheet of paper.

Lastly is a "Thinking of You":

The butterfly design was left over from yesterday's project.  I added some pendant flags from scraps.  

Do you use "Lost and Found" papers more for cards, or layouts?  I'd love to hear your opinion!

Mar 18, 2013

Scrapbook Process: Playing Hide and Seek with "Lost and Found"

It was Spring Break for us in Texas this past week, and I am happy to say that not only did I finish some some more cards for my stash, but I completed layouts too!  It's been too long since I designed any pages with recent photos. 

Since there was extra time during the week, I was able to play a little "hide and seek" in my paper stash to use some goodies that I hadn't seen in a while.  Voila!  "Lost and Found" by My Minds Eye was the winner!

Here are the three layouts I completed with different color Lost & Found  papers, stickers and diecuts that I had stashed away.  The great thing about the Lost and Found collections is that they are so versatile with each other!  It is so easy to mix and match the papers and other add-ins (as I did in my third layout below).  The result is that all three pages will tie nicely together, side by side, in the album.   

Lost and Found: "Union Square - Home Sweet Home"

Lost and Found: "Market Street - Happy Birthday"

Lost and Found Two: "Rosy - Ordinary"

After completing these pages and the cards that you will see tomorrow, I had glitter everywhere!  Now I kind of remember why I didn't use this paper right away, but I do absolutely love how these pages turned out. 

What is your favorite My Minds Eye collection???

Tomorrow I will share four cards I made from the leftovers from the Lost and Found papers! 

Jan 30, 2013

Card Making Process: More Valentines!

Hello again!  I have two more Valentine's Day cards to share with you!  As mentioned in my last post, the ideas came from the Winter 2013 issue of Card Maker Magazine.  If you need ideas for Valentines, this issue has loads of ideas!


This "So in Love" card from page 45 of the magazine caught my eye because of the background paper!  I had similar patterned paper from the My Mind's Eye 6"x 6" paper pad called "Dolled Up" which I used on the front, along with other embellishments that I had in my stash.  The felt heart is from Pebbles (I have a lot of them -- so cute!).  Loved how it turned out.


Another simple card here, using white and khaki card stock and one patterned piece from the "Journey" collection from Authentique, and a little chevron paper from My Minds Eye.  This idea was from page 43 of CardMaker, following the "Love You Always" card.  While the model card was cute with pink and khaki, I changed it up with using red instead.  

Do you like making traditional or more untraditional Valentine's Day cards?

Feb 1, 2012

Scrapology Class: Loving Pink Lush!

One of my favorite albums that I did for a class at Scrapology was probably this pink Lush book in January!  It's is more detailed that I usually do; I had a lot of elements on each page.  I loved the change of pace -- I don't get to play with pinks and fuchsias that much (I have boys and they wouldn't appreciate that!)


Aug 6, 2011

Scrapology Class: A Crush for Orange Lush!

Now I'm not an orange liking kind of person, but when we were deciding on the next class project for Scrapology this month, I decided to challenge myself with some of the Orange Lush!

I love how it turned out -- it's a more basic book with pr-ecut papers for each page and not as many embellishments.  However, for those who want something fun, easy and yet "Lush", this may be the project for you!


Jul 2, 2010

Scrapology Class: Seven Card Party!

Isn't this little purse card holder cute?  It's my new card class this month at Scrapology!  We are making the purse, plus SEVEN cards with some of the Lush line from My Mind's Eye.