Pages

Showing posts with label Cardmaker Magazine. Show all posts

Apr 22, 2014

Scraplifting from CardMaker Magazine!

I love my CardMaker magazine, even though it publishes only four times a year.  Not many scrapbooking or card magazines are in actual print anymore, so it is a joy to have one I can hold in my hands!

Whenever an issue arrives in the mail, I devour it from front to back, but afterward I challenge myself to make at least six to ten cards using the ideas from the magazine.

Following are some of my "scraplifts" from the Spring 2014 magazine.  To see more, watch the video below the supply list! Hopefully you will be inspired to make some cards too!

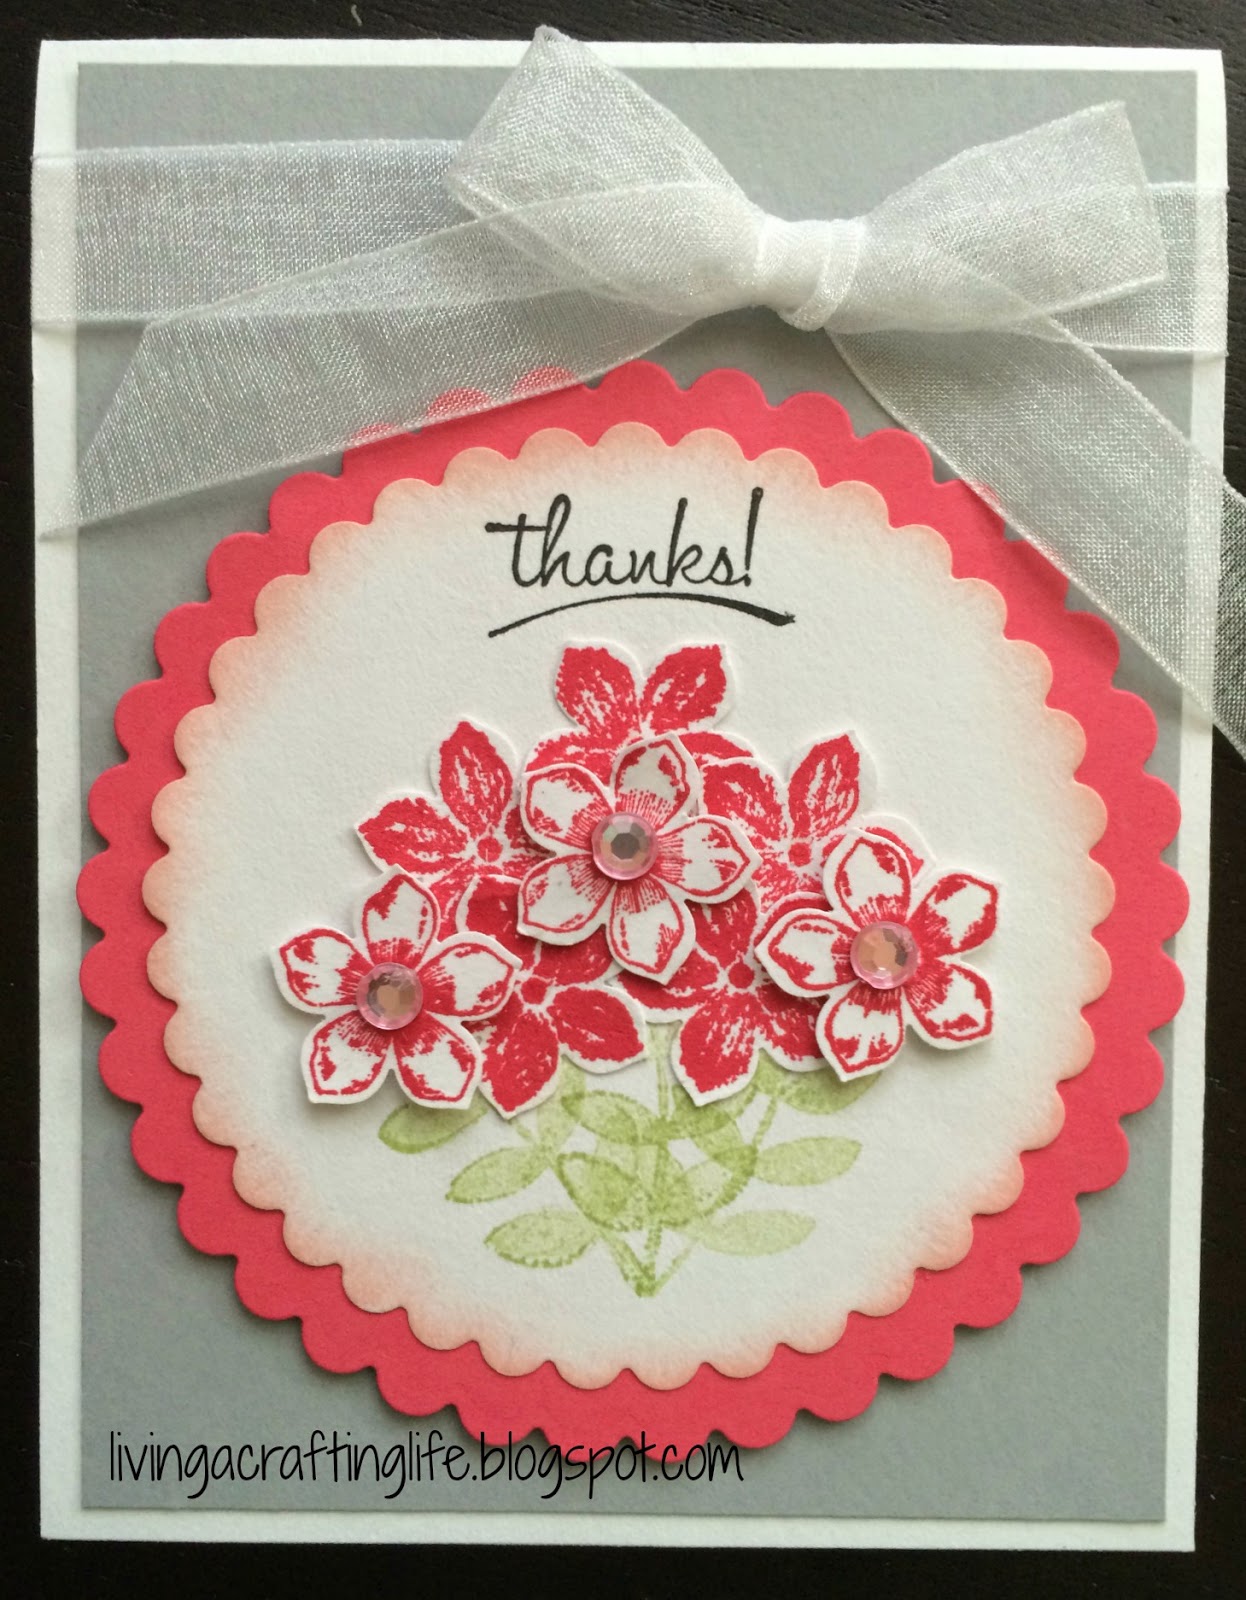

Supplies used:  

Stampin' Up Calypso Coral Ink and Paper
Stampin' Up Crisp Cantaloupe Ink and Paper
Stampin' Up Strawberry Slush Ink and Paper
Stampin' Up Blushing Bride Ink
Stampin' Up Daffodil Ink
Stampin' Up Crushed Curry Ink
Stampin' Up Smoky Slate Paper
Stampin' Up Rhinestones
Stampin' Up White Bakers Twine
Bazzill Cardstock - Lemonade 

For similar Printed Paper, try the new April "Rosettes" color kit from The Memory Nest!

Rosettes - Click Image to Close


Jan 30, 2013

Card Making Process: More Valentines!

Hello again!  I have two more Valentine's Day cards to share with you!  As mentioned in my last post, the ideas came from the Winter 2013 issue of Card Maker Magazine.  If you need ideas for Valentines, this issue has loads of ideas!


This "So in Love" card from page 45 of the magazine caught my eye because of the background paper!  I had similar patterned paper from the My Mind's Eye 6"x 6" paper pad called "Dolled Up" which I used on the front, along with other embellishments that I had in my stash.  The felt heart is from Pebbles (I have a lot of them -- so cute!).  Loved how it turned out.


Another simple card here, using white and khaki card stock and one patterned piece from the "Journey" collection from Authentique, and a little chevron paper from My Minds Eye.  This idea was from page 43 of CardMaker, following the "Love You Always" card.  While the model card was cute with pink and khaki, I changed it up with using red instead.  

Do you like making traditional or more untraditional Valentine's Day cards?

Jan 28, 2013

Card Making Process: Valentine's Day Cards

The mojo has picked up again, and I have been busy with Valentine's Day cards!  I found some wonderful inspiration from the Winter 2013 issue of CardMaker Magazine, and if you got this issue, you will see where I got my ideas. It's t fun to browse through a new magazine and mark the cards that instantly catch the eye because of their design, or for the fact that I have identical or similar papers to replicate the look!

I decided to share a few with you this week.  Here are the first two:


My inspiration for this card was the "Friend Card" on page 20.  For the pattern paper, I used the Basic Grey "What's Up" 6"x 6" paper pad.  Love the colors, and I have made several cards already from it this week.  My goal for 2013 is to finish each card on the inside with patterned paper or some sort of flat embellishment, which I did in the inside of this card with more patterned paper and punched out hearts.


The second is this simple card, using the idea from page 28.  All I used was some khaki cardstock, Recollections Decorative Tape from Michaels, some chipboard embellishments and my white Uni-Ball Signo Gel Pen (the best!). The design is finished in the inside with another strip of tape and white gel pen striping.

How do craft magazines inspire you?  Is it the sketches, colors, designs, or paper?

Thanks for visiting -- watch for a couple more cards this week!

Jun 26, 2012

Frugal Scrapbooking: Embellishments by the Bulk

I love medallions -- they are fun to make and add some dimension to your cards and scrapbook layouts!  I have been making them for awhile now, but I loved the article in the new issue of Cardmaker magazine (pages 42-44) that gave some techniques and ideas for making medallions in different variations.

After reading the article, I got jazzed again to make medallions, so I decided to make some in "bulk" to use on future projects.  (That way I only had to get my glue gun out once!)  I left buttons and other embellishments off so that I can do customization when I use them later.  


There are step by step instructions in the article, but here is my way for making standard size medallions:  
  • Use a 12" strip of paper, anywhere from 3/4" to 1-1/2" wide.  The wider the strip, the bigger the finished medallion.  (I find 3/4" - 1" size are great for cards, larger sizes for pages and projects)
  • Score paper strip at every 1/4 inch.  For a wider set medallions, do 1/2 inch increments on 1-1/2" wide strips. 
  • Try a more lightweight printed paper or card stock -- although you have to score more carefully, they do seem to work to shape better.
After scoring:
  • Overlap the ends of the strip to make a ring, using super sticky double stick tape to adhere the ends.  (I know some crafters prefer hot glue, glue dots or even staples, but I find the tape works best for me at this step.)  1" wide strips are good for beginners.  
  • Punch a 1" circle, laying on a gluing mat.  Add a nice dollop of hot glue.  
  • Take your paper strip ring and carefully press it into shape, adhering it to the glued circle.  Hold in place until glue starts to dry, then set aside until completely dry. 
  • Embellish with buttons, pins, hardware, ribbon -- ideas are endless! 
Other ideas:
  • Try border punching your strip first for some nice edging, or using a striped paper for some fun circles.  
  • Add as a fun embellishment to frames, banners, and wreaths.  
  • Attach ribbon to a medallion to make a badge for someone to wear for a special occasion.  

Have fun and feel free to comment below on what worked for you!

Jun 24, 2012

Card Making Process: Trying out Washi Tape

I just picked up the new July issue of Cardmaker -- LOVE that magazine!  I went right to work on a couple of the ideas to make my own simple cards.  

The first one I "scraplifted" was from page 34 that was made from the popular Washi tape.  I didn't have much tape here at home but had a small package of three colors that I could try with this card.  I went with a khaki card instead of their white option:


I love ribbon, and I think that this Washi tape is going to be my next addiction!  So fun and easy!

The next card I chose to recreate was from page 36, called "Scrappy Birthday."  I did a little twist on it, and this is the result:


I used papers from the Garden Party matstack from DCWV and thought it followed their theme well.  

This July issue has so many projects I plan to try -- good thing it is summer time so I have more free time to make cards and fill up my stash again!